

Few types of tools have proven to be as versatile over the better part of this past century as drills. These are pretty self-explanatory – namely, drills that use electrical power to accomplish their drilling.
They can be used for everything from drilling a few small holes in wood as you do some crafting with wood to puncturing solid metal or even glass. You can also use drills for pocket holes – read our post on this topic.
How to Use a Drill
When you know how to use it, your power drill can be one of the most powerful tools in your tool chest, so let us dive right in and discover how to use a drill.
1. Getting Prepped for Drilling
First things first – before you can get drilling, you will first want to make sure that you are ready to drill, and that means doing a quick safety check on yourself and your drill.
Safety Check
Even for a comparatively low-risk activity as drilling, you should spend attention to your safety (source): When using any kind of power tool, you want to consider wearing safety goggles and ensure that the power source for your tool is in good condition. That means ensuring that there is no sign of fraying in the wiring and that the battery attaches snugly without problems. You will also want to be sure to charge the power sources before using them.
In addition, if the drill you are using emits close to or over 100 decibels, you will want to make sure that you are wearing ear protection.
Read more in our article on DIY safety.
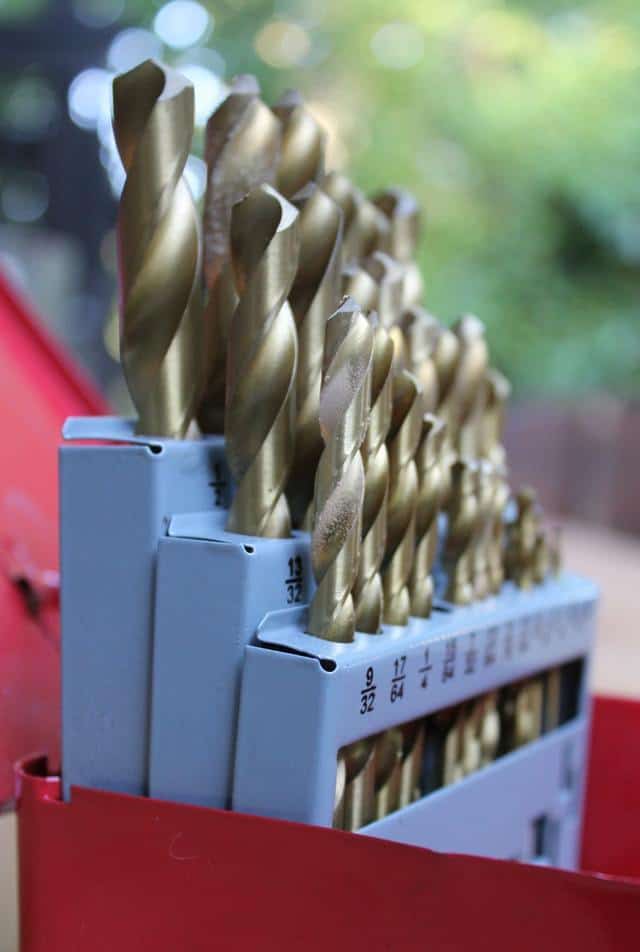
Preparing the Drill Bits
Now to the subject of your drill. Rule number one when it comes to reviewing how to use a drill bit is never to use a dull one. You should either keep a few spare bits for your drill sets or sharpen your drill bits yourself. In any case, you should not use one until it becomes a nub. Doing so will risk the drill moving around or not drilling accurately, both of which can prove dangerous as well as counterproductive to your aims.

![]()
Extensive Goxawee drill equipment.
Check out current deals for drills and drill sets on Amazon.
Using the Right Tool
Depending on your project, you can use corded or cordless handheld power drills which will be the tool of choice for most DIY jobs. Air tools could be an alternative, too. For certain types of drilling, you might prefer using a drill press while for extremely hard materials, e.g. concrete, a hammer drill might be the right choice.
Read our expert reviews on corded drills and drill presses to learn more about these tools.
2. Selecting the Right Bit
The last step in the drill bit selection and preparation process is fitting it into place. You need to make sure that the drill bit you choose is firmly set into place. You should hear a click and find the drill to be firmly in place. If it is at all wobbly, something is wrong with the connection between the bit and the rest of the drill, and you will need to figure out what it is before you can start drilling.
Staying with the topic of how to use a drill bit for a moment, you will now want to select the right one to use and attach to your drill before beginning your project.
The type of drill bit you use will depend greatly on the type of project you are working on as well as the material into which you will be drilling. You will find a more detailed guidance on drill bits for different materials In the dedicated section on drill bits below.
Keep in mind that every drill has a minimum and maximum size for drill bits that it can take, so if your drill bit does not fit perfectly, it may be too big or too small.
Press the trigger and test out the speed and balance of your drill before you begin.
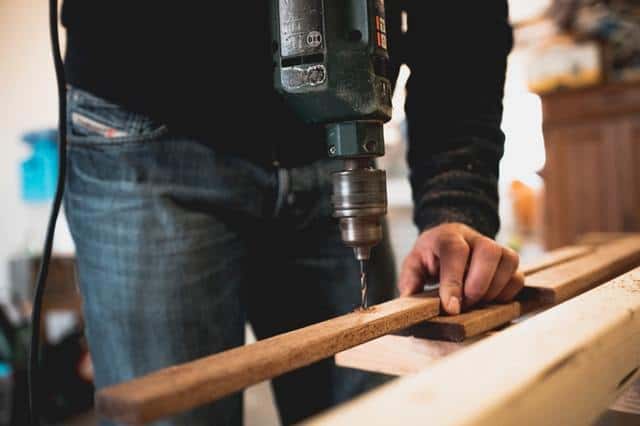
3. Start Drilling
Now it is time to proceed to the actual usage part of this guide on how to use a drill.
Press the drill lightly yet firmly against the surface into which you are drilling, and press the trigger. You should not need to press too hard. If you feel you need to press though, you likely have a problem with either the power level of the drill or the hardness or sharpness of the drill bit itself.
To begin with, you are going to want to drill an initial or “pilot” hole into the surface in question. This hole should not be the “complete” hole, and thus it does not need to be as deep or smooth as the final one will be. Instead, this hole should provide you with an easy entry point and give you an idea of the characteristics of the material (e.g. how hard or soft it is, whether it tends to splinter etc.)
4. Drilling with Care
If you are drilling into a more delicate surface, such as glass or porcelain, you will want to be careful with your pilot hole or forego it completely, as too much pressure on one spot can cause the material to crack.
You will also want to pay attention to the dial and numbers, which you should be able to see at the front of your drill near the bit. This adjusts the torque, or rotational force, of the drill. Increasing this and giving your drill more torque can help you drill through particularly difficult materials. Conversely, for delicate materials, you will want to use lower torque settings, or you risk cracking the material in question.
Check the temperature of the drill regularly, and make sure that you do not overheat it.
5. Cleaning the drill hole
Once you have drilled your hole you should clean it. This is comparatively easy if you drill a workpiece like a chunk of wood or a metal slat. However, drilling holes into a wall or floor will require a vacuum.
How to Use a Drill Bit
When using a drill, a drill bit is a small but important equipment for drilling the different types of materials. It refers to the drilling attachment for a manual, corded, cordless or air-powered drilling machine.
While power, stability and ergonomy of the drilling process are depending on the machine, the drilling bit is crucial for the ease and quality of the work and the outcome.

![]()
For most DIYers, a universal drill bit set – supplemented by special drill bits as needed – is a useful and inexpensive accessory.
Before starting to drill – by following the above-mentioned steps – you want to think of the equipment you need for the job. First of all, you want to make sure that you use quality drill bits, that they are sharp enough recently and that they are suitable for the material.
Which Drill Bits to Use for Which Material?
The following section provides you with a general rule of thumb on how to find the right drill bit for the material you want to drill – be it wood, glass, stone concrete or something else:
General Purpose Drill Bits for Wood and Other Materials
General purpose drill bits are easily among the most common out there on the market and can be used to drill into the greatest variety of surfaces. If you are doing basic drilling into wood, this is the type of drill bit you will be using.

![]()
Find drill bits for wood on Amazon.
You will also want to make sure that the drill bit you are using is large enough to effectively drill into the surface in question.
Drill Bits for Metal Work
Drilling into metal is going to require something a bit stronger still. For most metal surfaces, your drill will need to be spinning even faster to get through, which means that you will need an HSS (high speed steel) bit.

![]()
Find metal and HSS bits on Amazon.
Drill Bits for Stone, Concrete, Marble, Glass and Other Hard Material
Regular bits or HSS bits are not suitable for hard materials as their metal tooth cannot get traction on the surface of hard materials. For the harder types of brick, concrete, and masonry surfaces, though you will need to use a diamond bit (read more about diamond bits on diamondsure.com).

![]()
Find diamond drill bits on Amazon.
Drill Bits for Tiles and Porcelain
When drilling into more delicate, easily cracked surfaces such as tile and porcelain, you are going to want to use a drill that has a bit of an easier touch to it. In this case, you will want to opt for drill bits with an especially hard, fine tip, typically diamond or carbide.
How to Sharpen a Drill Bit
Two of the most common ways to sharpen a drill bit are using a specific tool for sharpening drill bits or a bench grinder.
Read how to do it in our step-by-step guidance.

Conclusion
You have learned how to use a drill and a drill bit. Keeping all of these tips in mind can help you master drilling, one of the oldest and most common fixation techniques. To start your project, read our expert reviews on drill presses and corded drills and get the tools and equipment you need for your project, e.g. from Amazon.
Hi there, would you mind helping me out with a question I have? What do you think about Dewalt drills vs Makita? Are they really that much better than something like a Ryobi? I’ve been using an old corded drill for years and I’m planning to upgrade to Lithium Ion. Thank you very much! 🙂
Thanks for your comment. Check out our power drill reviews for a comparison.