
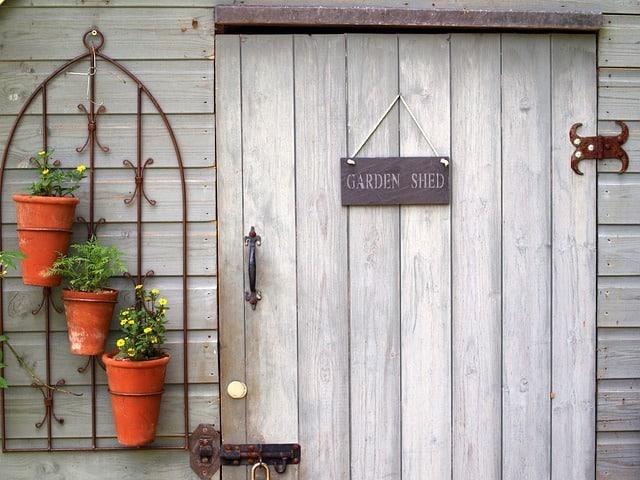
Whether you have to replace your old shed doors or finishing a shed, there are easy ways you can build one that will last. Shed doors can either be custom-built or pre-hung. You have to determine the kind of shed door you need and the materials you have to use to build one. Here are the steps on how to build a shed door.
Most Common Shed Door Plans
The size and dimension of the shed door you will build depends on your needs and how your shed was built. It is better to have your blueprint or shed door plans ready before you start your construction. There are shed door plans available online or you can easily draw your own plan based on the size of your shed or the size that you want.
Single Shed Door Plans
This is the standard shed door and probably the simplest one to build. A single shed door plan varies not only with size, you can also opt to add a window or choose between a ledged door and a ledged and braced door.
Double Door Plans
A double door shed means a bigger door but it also means double the work.
Sliding Shed Door Plans
Building a sliding shed door can be a little tricky. The mechanism involved is the same as the wheels of a skateboard and some flat bar made of steel. The only downside is that you need a workshop to build it. If you have one, this can save you some cash and give you a neat looking sliding door setup.
There are many shed door options available when you decide to build your own. You just have to carefully prepare a layout of your preferred shed door kind and design with corresponding sizes and dimensions.
Building a DIY Shed Door
- Determine the type of the shed door you need.
- Ready your blueprint or detailed shed door plans that demonstrate the size and dimensions of your shed door.
- Run to your local hardware store or home improvement store to purchase all the materials you need such as lumber, nails, hammer, etc.
- Do not forget to wear protective gear as you start your construction. This includes gloves, protective goggles, and overalls.
- If you are building in your backyard, clear your work area and make sure not to allow children or pets to avoid any untoward incidents.
- Instructions for building a single shed door.
- Choose the boards or wood. Cut to the right height and width. The usual size of a single shed door has a thickness of 20-25 mm and a width of 125mm.
- If you opt for a ledged door, the size of the ledges is almost the same as the door but without the depth of the door frame’s two beads. Each side should have 5mm allowance.
- Once the shed door is assembled, the grooves, tongues, and inside of the ledges will be impenetrable. It is recommended to prime the timber first.
- A standard ledged door’s ledges are located on the internal surface of the door. However, if you prefer the ledges to be on the external face of the door, it is a good idea to make the top surface beveled and create a drip or throat on the bottom edge. This is to repel the water off the shed door.
- Assemble and position the ledges of the batten’s inside part and securely screw them to the batten. You can use two screws and probably three nails.
- You can lay the ledges flat on a surface by turning over the batten. Place the remaining batten cramped up and in place on the ledges.
- Nail the battens to the ledges preferably in a zigzag manner.
- For better security, the nails should be clenched. Use a screwdriver and drive the nails in on the skew in parallel directions.
- Punch the nails and stop the holes.
- Your single shed ledged door is now almost finished.
For Ledged and Braced Doors
Same as building a ledge door above but with added details.
- Assemble the shed door and then let the braces in.
- Install the brace with the ends kept back by about 65mm from the ledge’s end. This will avoid the pressure from the braces breaking and splitting away some of the portions of the ledge.
- Once the braces are in position, secured, and fitted, the battens should be nailed to them the exact way as the ledges.
Instructions for Building Simple Double Shed Doors
- Start by measuring and framing the opening of the door. Your door plan should include:
- The top plate
- Header
- Cripple stud
- Stud
- Bottom plate
- Jack Stud
- You can use a 2×4 or 2×6 for the door’s header. Cut two to the right size and cut a chunk of plywood by ½”. Place between the lumber and install.
- For this shed door plan, we’ll be using exterior siding sheets plywood called, t1-11. Install the sheets over the opening of the door and secure them in position by nailing them through the siding sheets and into the door’s wall frame.
- Cut the opening of the door carefully. Set aside the cut out siding. This will be used to build the door.
- Use the 2×4 for the door opening. Measure and cut them accordingly and install the trim around the door using finishing nails.
- Build the door from the cut out sidings. Again, use the 2×4 and lay them flat on an even surface. Make sure they are cut according to size. Place the siding on top and nail through the 2×4.
- Attach the shed door hinges.
- Install the door.
Congratulations! You just made your DIY shed door! Keep in mind that these instructions are for simple shed door plans only. You can build your preferred design or added details such as windows and ledges.
This short video demonstrates a step-by-step guide on how to build your shed door.
Conclusion
Those are the step on how to build a shed door. If you have already built your own shed, you will find that building a shed door is easy and simple. Choose the right materials, follow instructions, and wear protective gear to ensure that your shed door is sturdy and to prevent any accidents. If you have questions about shed door construction and shed door plans, feel free to leave them in the comment section below!