
There are many possible uses of concrete around the house: making slabs, flooring patios, building driveways or pathways or creating a new countertop for the kitchen or the garage. If you are pursuing such a project yourself, you will want to read this article and learn how to make concrete and which equipment you need.
What Is Concrete?
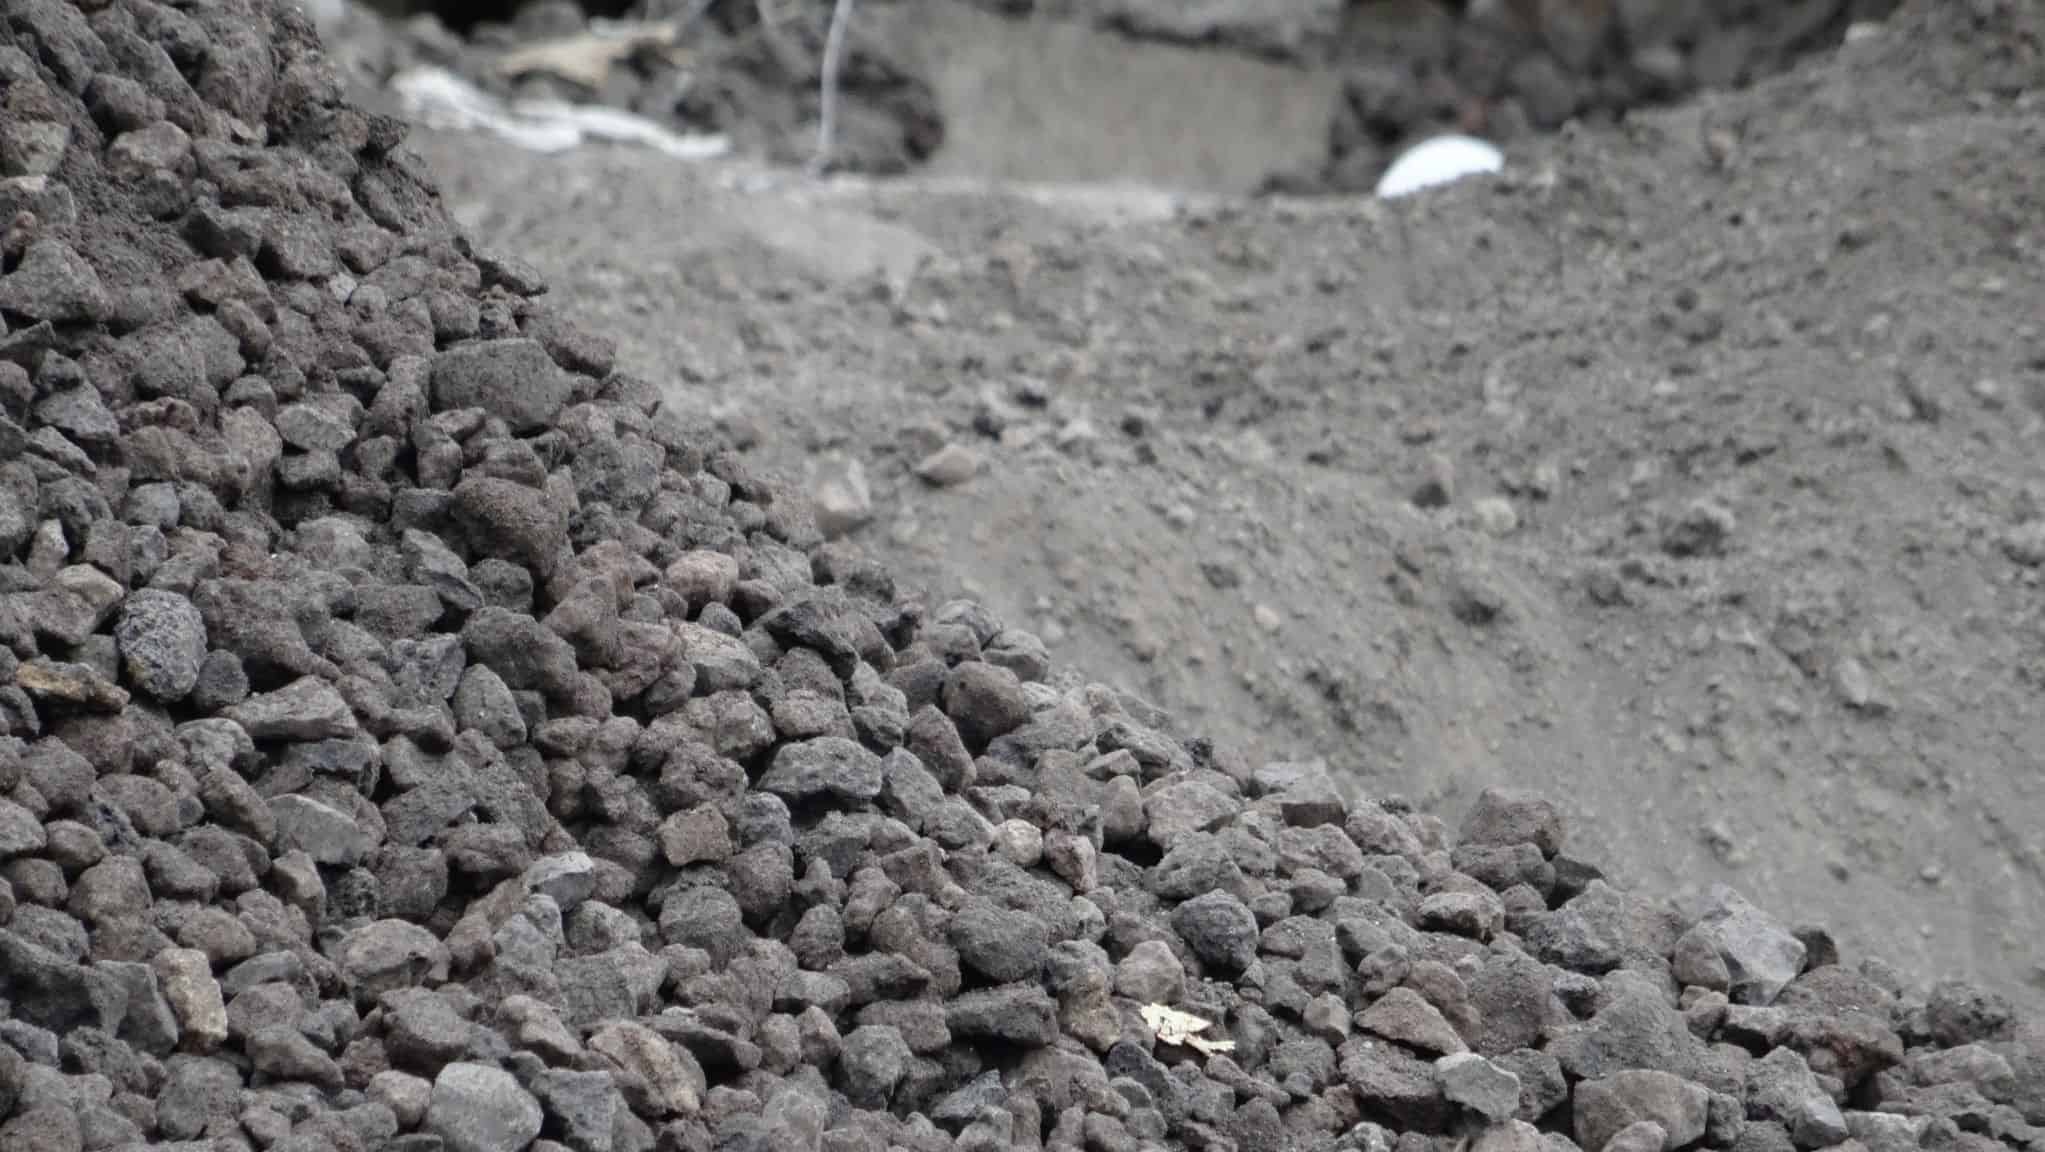
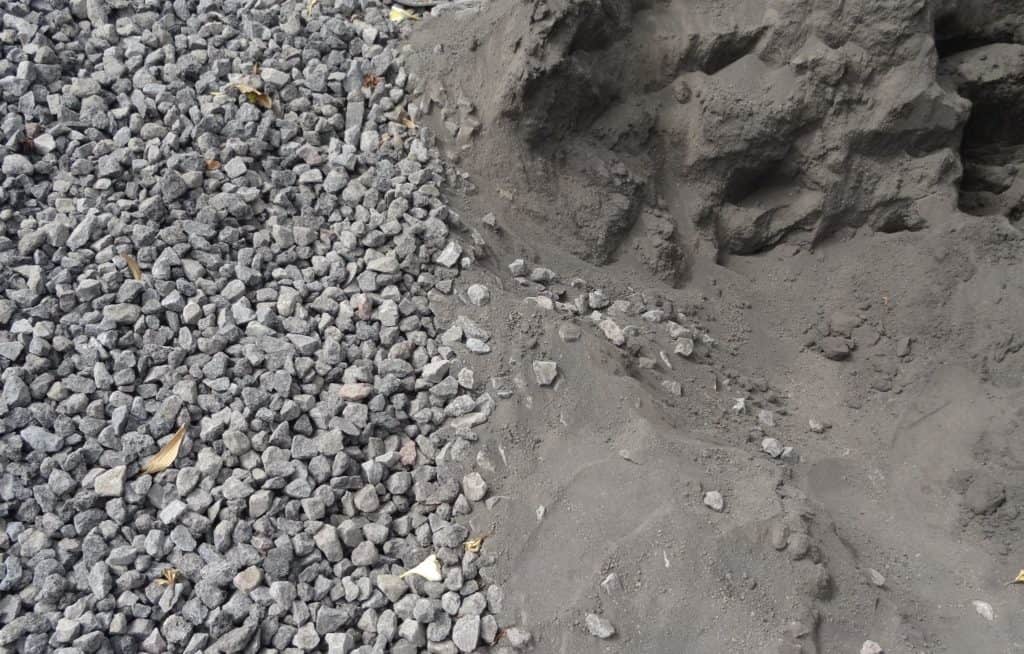
Concrete is a composite material made of aggregates mixed with cement – usually Portland cement which is by far the most common type of cement – and water. As aggregates, you will likely use sand in combination with gravel or crushed limestones.
Read more about concrete in our in-depth article cement vs. concrete.
Choose the Aggregates for Your Concrete Mixture
The ingredients you choose will determine the appearance of the finished concrete surface: If you prefer a plain white concrete surface, you will want to get white Portland cement and white sand with fine aggregates (if any) of the same color.
On the other hand, you can as well use exposed aggregates that create a certain texture of the surface. To achieve this, you will need to get aggregates in the form of stones or gravel with different color shades. Quartz and even crushed glass work as concrete ingredients either and help achieve an elegant look of the surface.
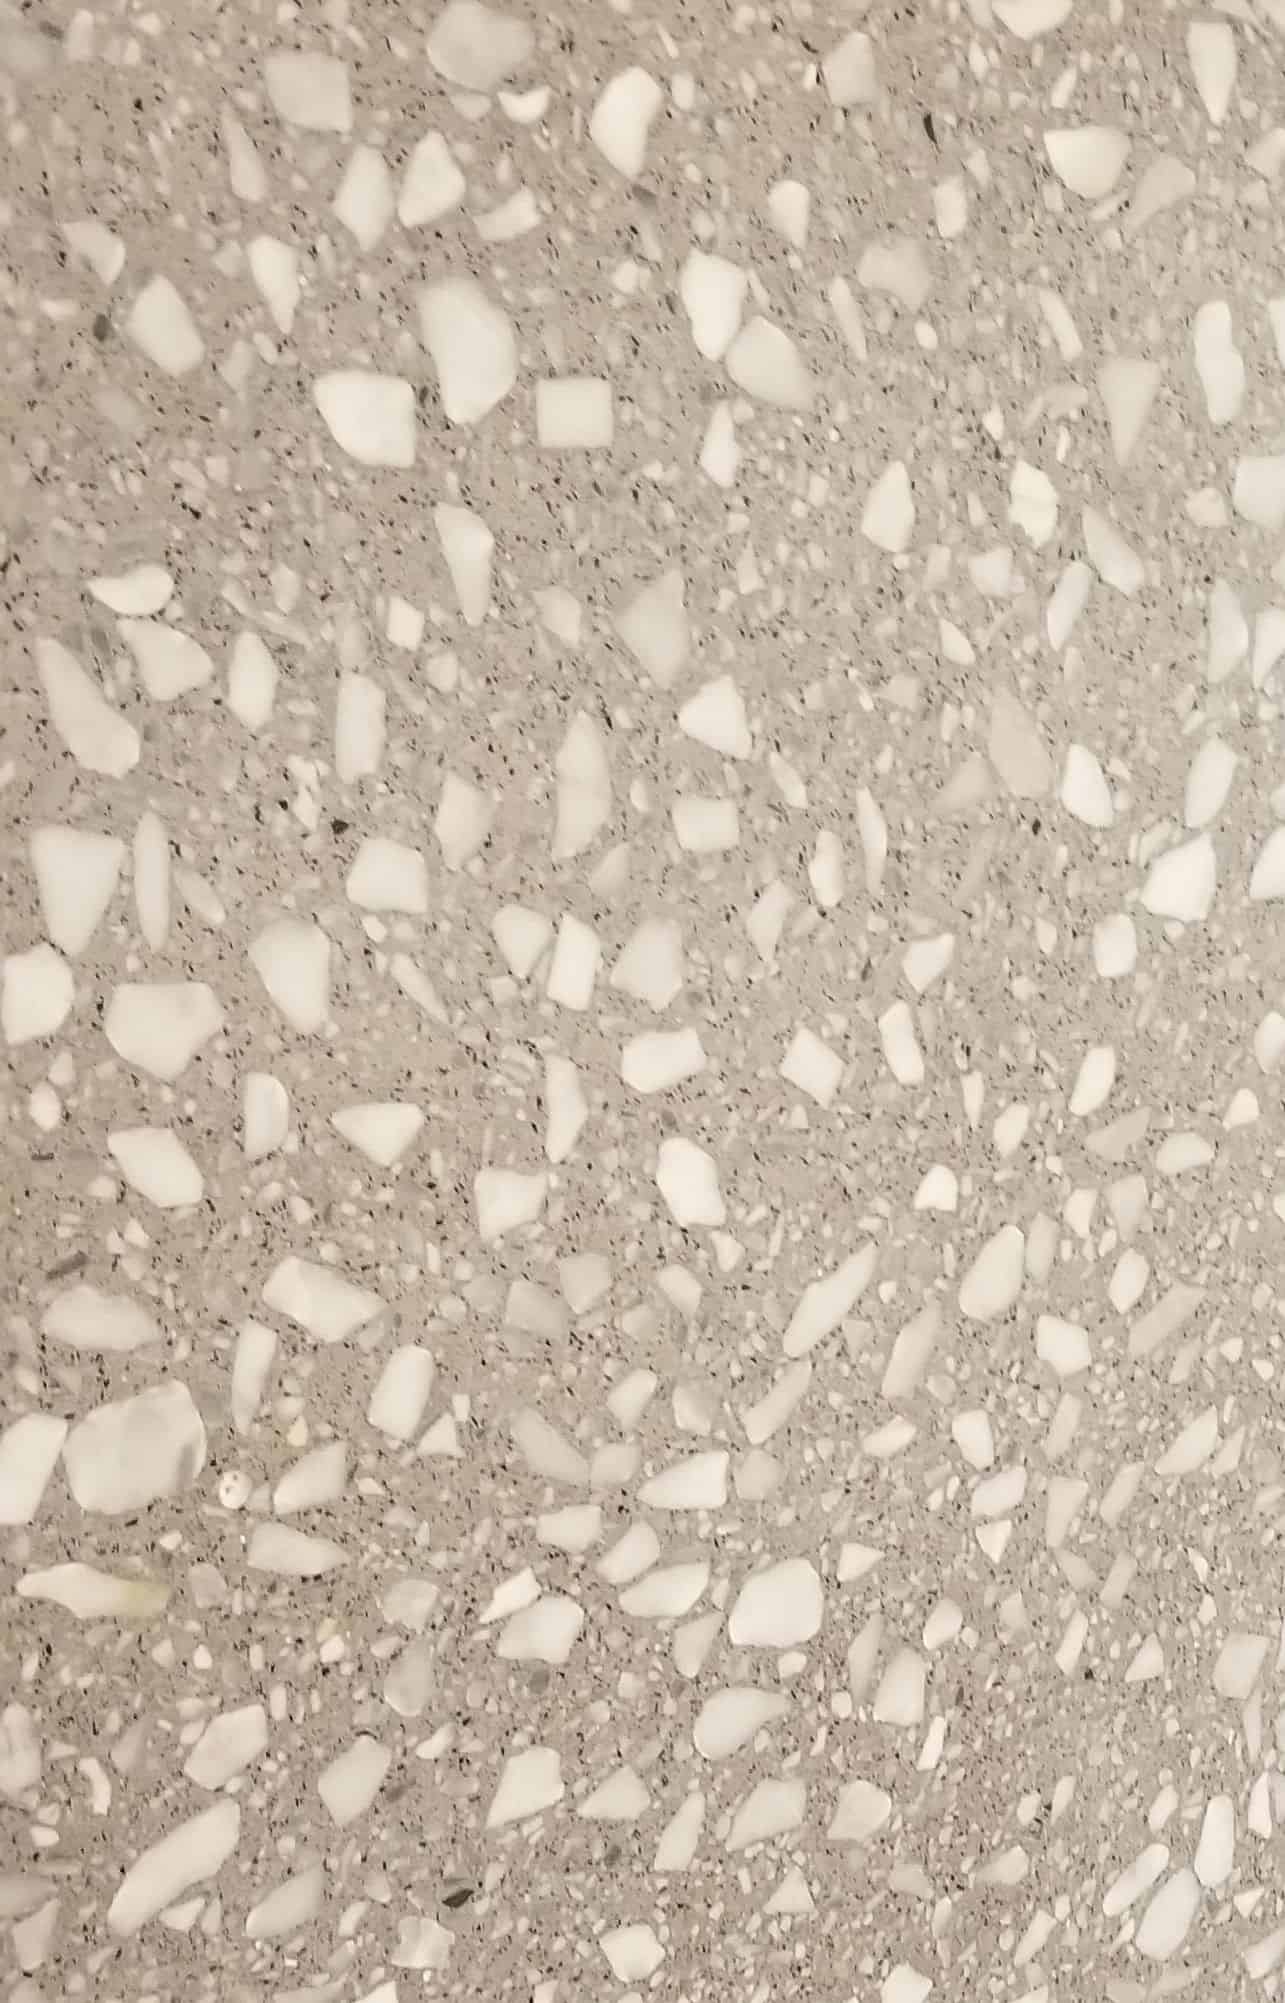
Grinding or sanding the surface will help you accentuate these kinds of textures.
Make Concrete Yourself (in 4 Steps)
When making concrete, you should dedicate enough time to start and finish your project or part of a project in one go. As the cement mix will be hardening quickly, you want to apply it immediately after making the concrete. The same advice holds true for the last step, i.e. cleaning your tools: Do it immediately after the completion of the work as the concrete will start curing otherwise which makes it hard to remove it.
To start your concrete project, you will need these tools and supplies:
Supplies Needed
- The ingredients of concrete:
Cement
Sand
Aggregates - Water
- If concrete is poured on soil: gravel for a subbase
- Plastic or wooden boundaries / forms for the area where you pour concrete
- Concrete molds, if a certain pattern or texture is desired
- If required: a concrete hardener
- Concrete dissolver for cleaning the tools
Examples


Tools Needed
- A concrete mixing tool or container:
Either a concrete mixer (for semi-professional use when you need more than 70-90 lbs., around 30-40 kg, as a rule of thumb), a wheelbarrow, a concrete mixing sheet, a bucket or a tub - An electric or manual cement mixing pole, a shovel, or a hoe
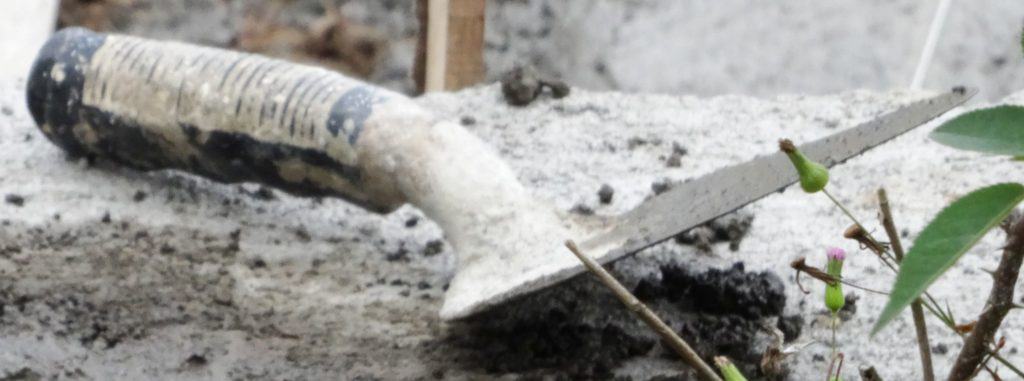
- A finishing trowel, a bull float and/or putty knives / scrapers (depending on the size of the area)
- If required: a concrete edger
- Safety equipment:
As exposure to cement can be hazardous, you should be using a mask, gloves, and consider wearing goggles.
Examples


1) Prepare Yourself and the Work Area
Make sure you have cleaned the area where you want to pour the concrete, I.e. plants, stones and grass and all other stuff need to be removed.
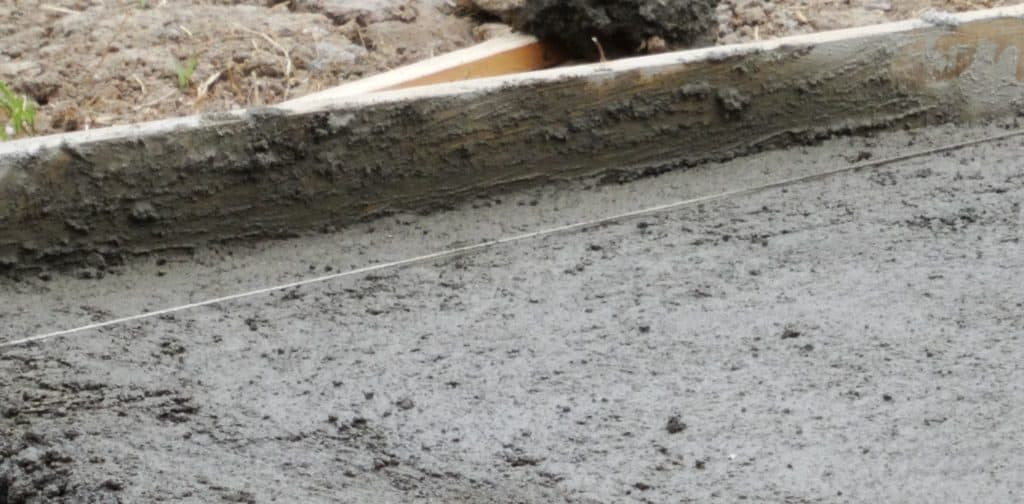
Lay out the shape of your concrete slab: use wooden slats and nail or screw them together or use plastic boundaries define the form and borders of your working area.
If you apply concrete on soil, you will need to check the stability of the soil surface. Note this rule of thumb: the more stable the base on which the concrete rests, the more durable and scratch-resistant the slab.
Tamp the soil first. If it is hard and stable enough, you can pour concrete on top of it. Otherwise, lay out a layer of gravel as a subbase which will provide a stable base for your slab (source: theinstructor.org).
As the stability of the concrete surface tends to increase with the thickness of the subbase, consider the future use and required stability of the concrete slab: You might want to use more gravel for building a driveway, for instance, compared to a patio.
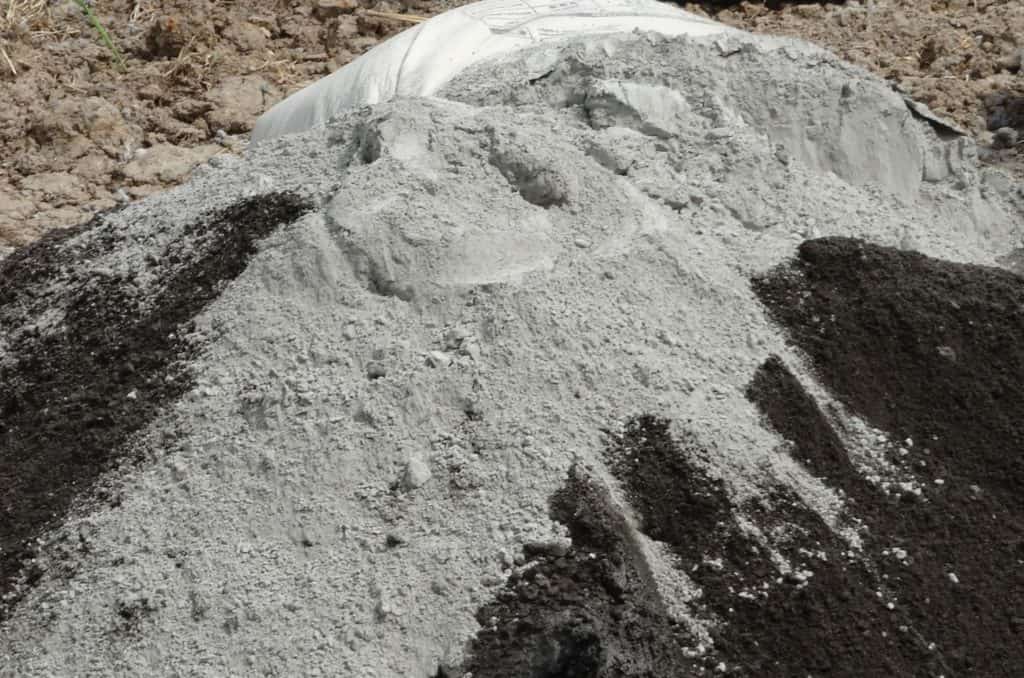
2) Mix the Ingredients
The generally recommended ratio for mixing concrete is:
1 part cement +
2 parts sand (you can use general purpose sand)
+ 4 parts aggregate (coarse or fine, depending on the desired outcome).
Mix them well with your respective mixing tool, be it a shovel or a powered or manual cement mixer. If you are using a mixing sheet or a tub, move the mixed material to the center of the sheet and make a small hole in the middle of the pile. In the next step, you will fill water into it.
3) Add Water and Turn the Mix into Concrete Paste
You can use a bucket or a hose to add water to the mixture. Pour the water slowly on the material and mix it with the mixing pole or a shovel.
Repeat this procedure a couple of times until the ingredients are wet enough and the mixture turned into a “concrete paste”.
While doing this, be careful in determining the right amount of water: If you add too much water, the concrete will be hard to work with and will take longer to cure. If it is not enough, your concrete will be porous and unstable.

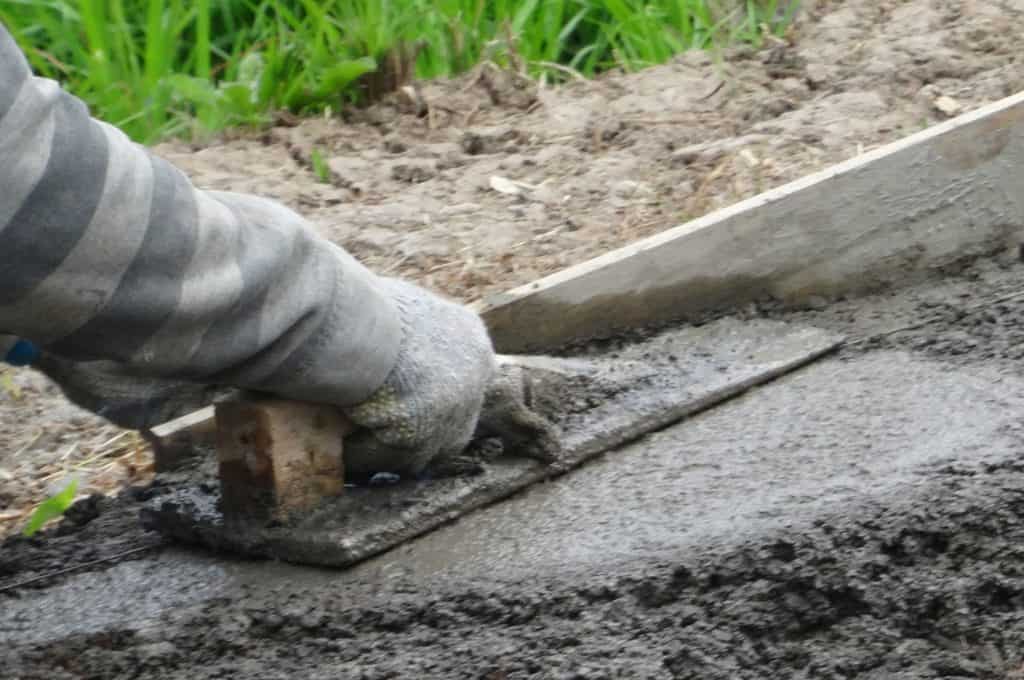
4) Pour the Concrete
Start pouring the concrete paste carefully into the area or form defined in the previous step. Use a shovel, a hoe, a finishing trowel, or a bull float – whichever one you have chosen initially – to distribute the mixture across the entire area in order to get an even surface. Do this as fast as possible while the concrete paste is still somewhat fluid.
5) Enhance the Surface
Use a hand float, a concrete edger and/or putty knives and scrapers to enhance the surface and the edges of your installation.
If you are working on a larger area, e.g. a pathway or a larger patio, you should consider adding control joints: This term refers drawing small chinks into the concrete surface before it dries, aiming to control the inevitable cracking of the surface over time (learn more about control joints on concretenetwork.com)
Consider adding a concrete hardener once the concrete has started curing, particularly for slabs which will be subject to heavy-duty use in the future.
6) Clean Up Quickly
You should clean the tools immediately after pouring the concrete. This will help you remove the remaining concrete paste before it hardens.
Use clear water and a rag first. If the concrete has already started drying, use a concrete dissolver and follow the instructions on the back of the bottle.
7) Let the Concrete Cure & Finish It (if desired)
The concrete cures in several stages. In general, concrete is supposed to harden within 28 days (technically, that is the point when it achieved almost the maximum of its strength while the curing continues). Especially during the first couple of days, you should make sure that nobody is walking on the concrete. Be aware of pets or birds and add a temporary fence or net to protect the slab.
These durations are a rule of thumb for DIYers though, as the chemical process of curing is much more complex in reality (details in this PSU essay). You should also refer to the instructions on the back of the cement back for details.
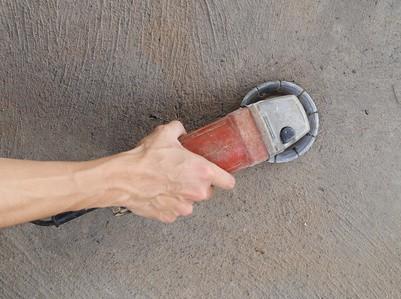
If you want a smooth and even surface of the concrete, consider sanding it which you can either do by hand or with a concrete sander or grinder.
In any case, you should apply a final coat of protection, e.g. a concrete sealer, stain or paint. This will help increase the durability of the concrete while protecting it from wear and tear like cracks, stains and weathers.
Roundup
Concrete is a durable, versatile and comparatively easy-to-use construction material. While it is very practical for outdoor use, it can also come with an elegant appearance which makes it a perfect choice for pathways or patios in your backyard. Finer ingredients can further enhance the look of a concrete surface which makes it a great alternative for indoor countertops, floors or walls as well.
Following these 4 steps, you will be able to make concrete yourself for any of these uses. In order to start your project, make sure you get your tools and equipment ready and have enough time to be able to work on the project (or sections of it) from the start to the completion.
To get started, take a look at our tools and supplies list again and choose and compare them on Amazon.
Do not miss our other articles with useful tips and tricks for working with concrete.