
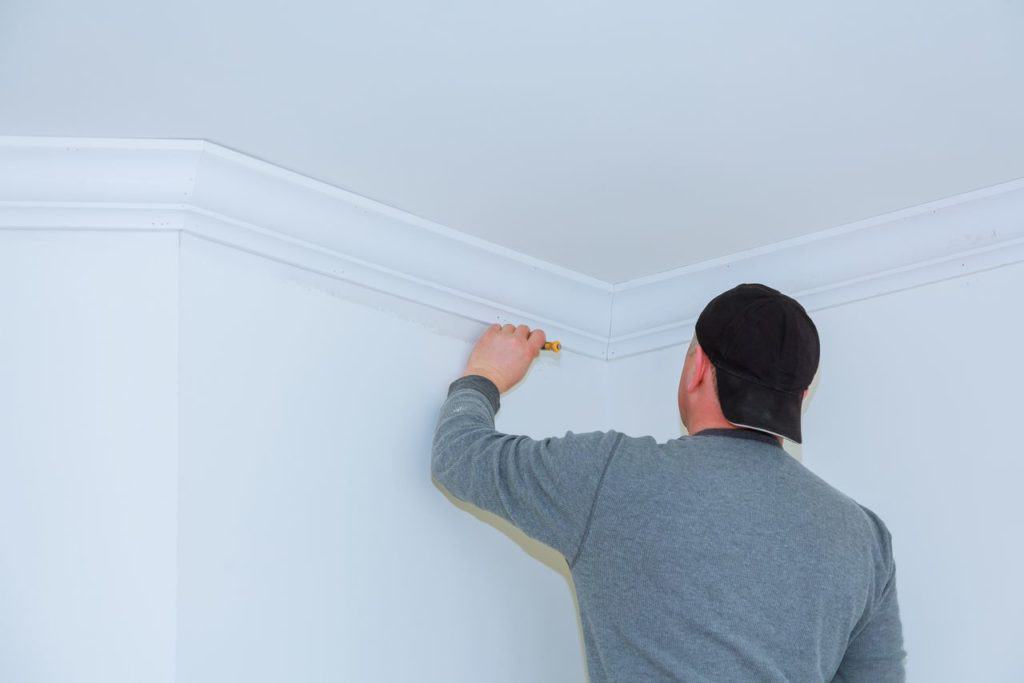
Coving is a material applied between the joints of the wall and ceiling to make your ceiling look more attractive. Coving is also used on exterior walls, window frames, and for sealing wardrobes and kitchen units.
The application of coving strengthens the walls and is essential if you want to give your home a polished look. There are a variety of coving materials that you can choose from and cut and fix coving strips at home. Here is our guide to help you understand the procedure of putting up coving.
Coving Designs
The design of your coving should be suitable for the decor style of your home and will help you to enhance it even further. Here are some of the latest and trending coving designs that you can choose from:
Small stepped coving
The small stepped coving gives your home a modern touch and can be used for LED downlighting or to conceal your curtain tracks.
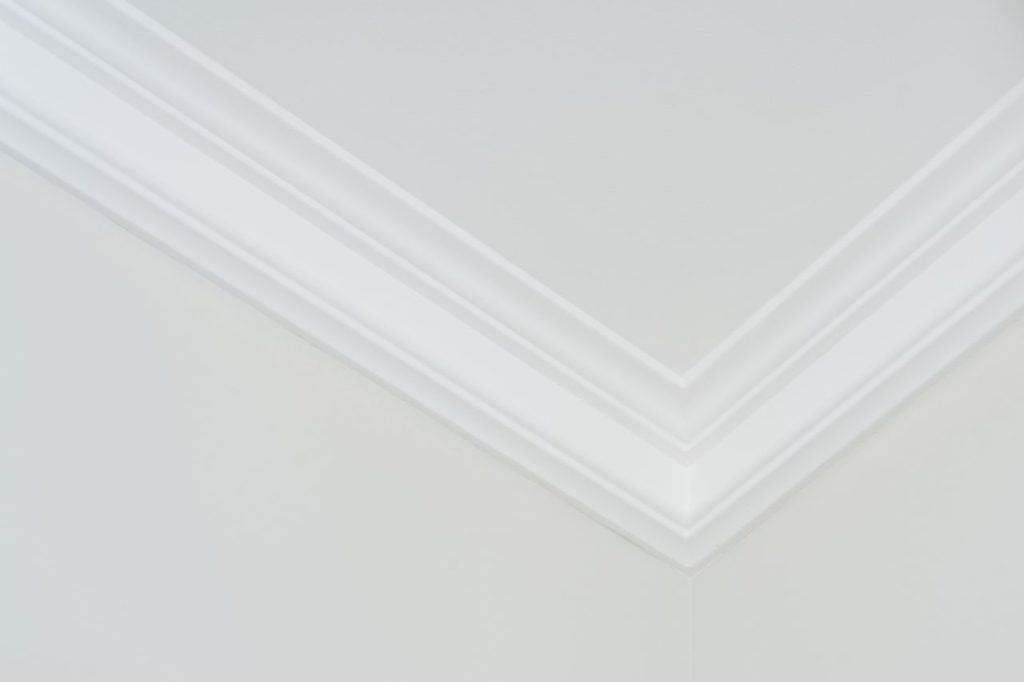
Largely stepped coving
The largely stepped coving gives your home a contemporary effect and can be used in any direction to enhance the look of your ceiling. This type of coving is suitable for fixing in LED lights.
Modern stepped coving
This type of coving is very lightweight and is multi-functional. You can use it as a skirting or wall molding, and it gives your home a modern minimalistic effect.
Ornate Coving
If you want to give your home a luxurious Victorian-style touch, you should go for covings with floral and leaf patterns. There are numerous designs available in these covings ranging from roses and grapevines to abstract geometrical that you can choose from. The only downside is that these types of Covings need higher maintenance to preserve the details of the pattern and design.
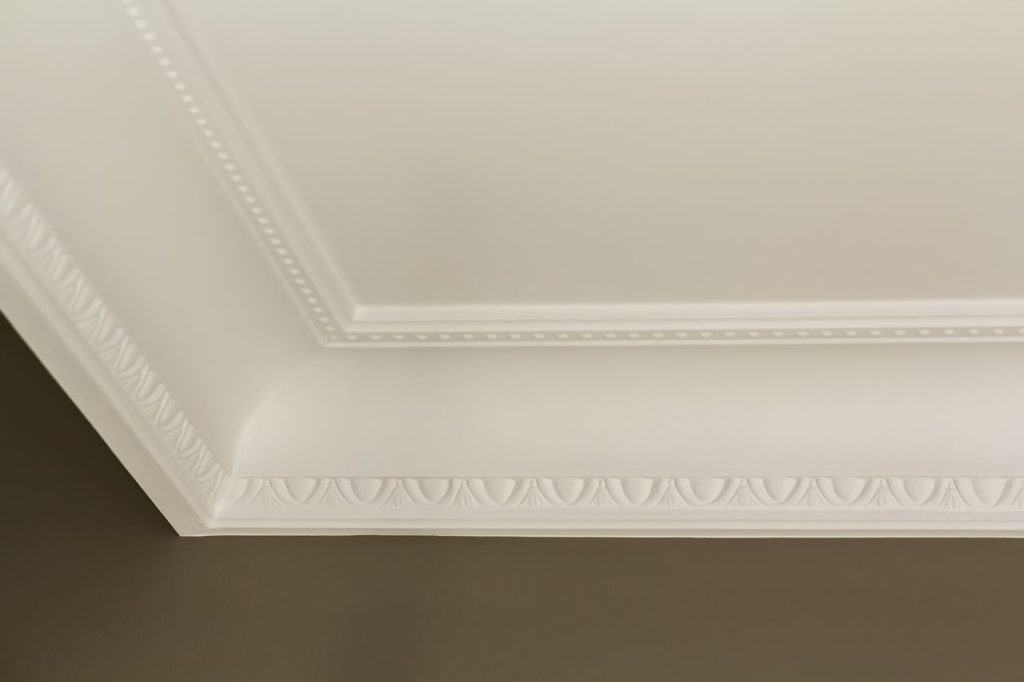
Egg dart coving
Also known as dental coving, this type of coving has an ogee curve running above and is considered to be one of the classic designs. You can install this coving easily on your own to give your home a classy Victorian look.
Coving Materials
Before you choose a Coving material, it is advised that you first measure the number of coving strips you will need for your project so that you can accordingly select the most effective material that fits in your budget.
Here are some of the coving materials that we recommend for home improvement projects:
Polystyrene Coving
Polystyrene is the perfect choice if you are running on a tight budget. This material is very light and hence easy to install. The problem is that it tends to be very soft and is more prone to damage during installation, although the downside is that the look and finish of this coving is not polished or of superior quality.

![]()
Example of Polystyrene coving (find it on Amazon).
Plaster
Traditionally, the covings were made out of plaster before the inventions of modern synthetic materials. Plaster helps to give a smooth finish to your covings and is an ideal choice for ornate Covings that have a lot of details and designs. Although the downside is that plaster is very heavy and is not suitable for beginners who are trying to fix the coving on their own.
The plaster is highly brittle and needs to be cut carefully. You will need at least two people to cut and fix the plaster coving to the wall as they need to be screwed carefully to support their heavyweight.
You may end up with cracks in your walls if plaster covings are not fixed properly, so it is recommended that you get professional help when you are going for this type of material.
Wood
Traditionally, being used as a coving material in castles and palaces, the wooden Covings are known for their elegant look and are popular for usage in domestic as well as commercial places.
Wood coving is generally used on exterior walls and surfaces of wardrobes or kitchen units to give your home a Victorian-style period look.

![]()
Example of maple coving (Amazon).
You will need panel pins and wood glue to fix the wooden coving panels in your walls. You can varnish and coat the wooden Covings to match with the rest of the furniture and style of your home. Just like the plaster coving, the wooden coving needs to be screwed to the walls to be held in place.
Hardened Polyurethane
Being one of the newly launched coving materials, it combines good qualities of both plaster and polystyrene. The material has a superior finish like plaster but is lightweight and easy to install at home on your own.
Many contours and shapes are available in this material since it is made up of polymers and so it gives a lot of flexibility for usage in curved edges and window frames that have bents. This gives it an advantage over the old school materials like wood or plaster, making it the new favorite for coving amongst designers and homeowners.
Interestingly the material comes at a reasonable price and can be fixed easily without any post coving problems like cracks or squeaks.

![]()
Example of polyurethane coving.
Putting up Coving (in 5 Steps)
Materials needed
- Coving material,
- spot ruler,
- marking pencil,
- miter box and cutting saw or a miter saw,
- hammer and nails or an electric or air nailer (e.g. brad nailer),
- adhesives (e.g. this cove base adhesive)
- paint, and
- brushes.
1) Measure and Mark
The first step is to measure the width of your coving strip and mark it on a spot ruler. Once you have marked the width on the spot ruler, use it to draw straight lines on all walls and corners of your walls, leaving the width from the ceiling.
Make sure all the lines are straight and running evenly across the wall; this will help you to stick the coving adhesive evenly, giving a strong bond.
2) Prepare the Area and the Material
Now score the area between the top of the ceiling and the marked line using a scoring knife to avoid disturbing your wallpaper or paints once the coving is fixed.
You will need 45-degree angled coving strips at each right-angle corners of your ceiling and straight coving strips in between.
So accordingly, calculate the number of coving strips required to complete your project.
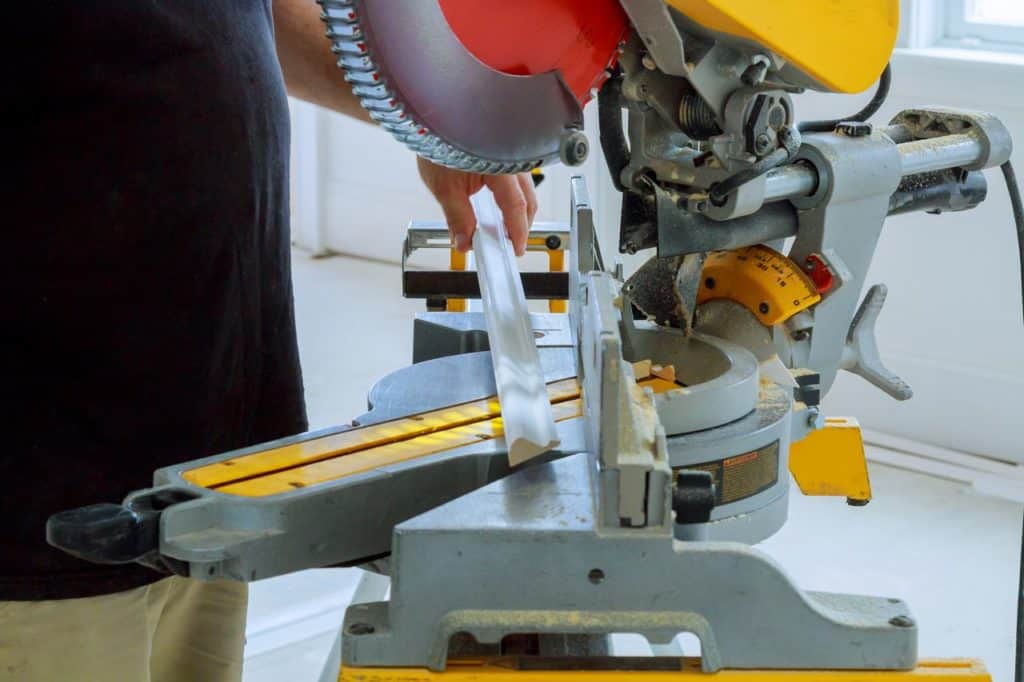
Once you have calculated the number of coving strips proceed for cutting them. Place the coving material in a miter box with all slope lines lined for a smooth cut.
Then cut them using a saw ensuring well-cut smooth edges. You can cut a few extra sections than the ones required, as few sections might get damaged in the fixing process.
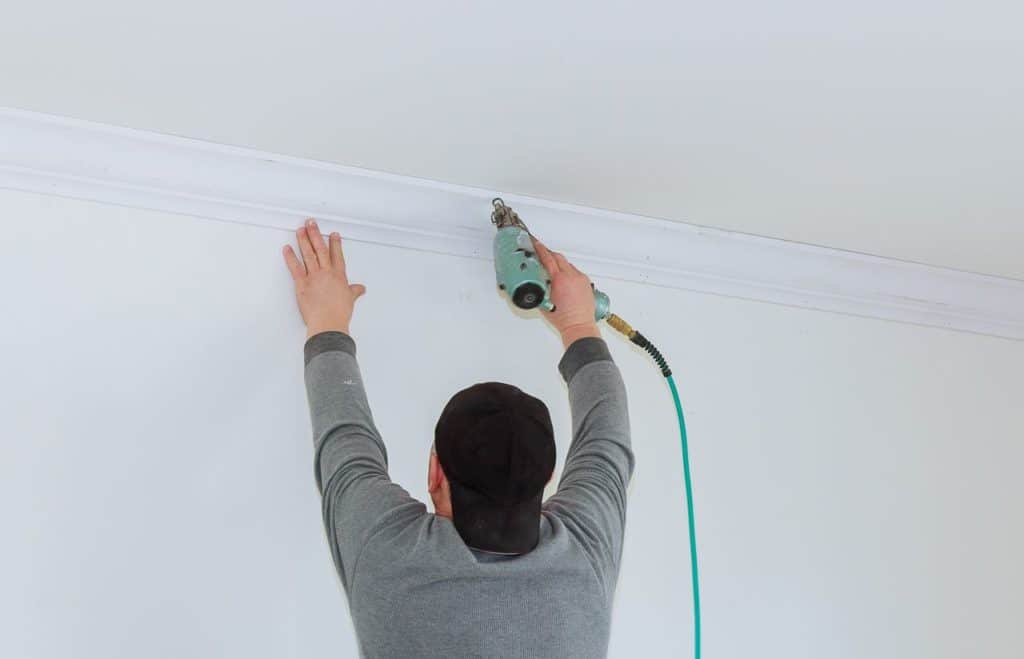
3) Fix the Coving
Apply adhesive evenly across the entire length at the back of one section and press it against the wall with a slight upward push. Use the lines previously marked on the wall to ensure that all the sections are fixed in a straight line. With the help of your palms, hold the coving firmly in its place.
The next step is to hammer the coving section into the wall with some temporary nails so that it stays firm in its position till all the adhesive dries up.
Similarly, fix all the other sections on the wall while applying extra adhesive to the sections that meet at each corner and press them together against the wall.
4) Remove the Nails and Clean Up
After all the sections are fixed, clean the wall surfaces, and remove excessive adhesives or fix the damaged paint sections to get a clean look.
After all the adhesive dries up, remove the nails carefully, and your coving is ready for use.
5) Paint and Enhance the Coving
You can coat or paint the coving surfaces for an enhanced finish and attractive look. The coving strips can be useful for covering curtain tracks and for installing soft-focus LED lightings to enhance the look of your ceiling.
Coving Repair and Maintenance
The normal damage and repair issues faced with coving is the development of cracks and gaps between the leading wall and the coving. You can fix these issues using simple tools like chisel knives and filler materials at home.
How Do You Repair Cracks?
All you need to do is to remove the corners of the cracks to smoothen the crack area with the help of a chisel knife.
Then fill it with soft paste of filler material so that the entire crack is filled, and the area looks smooth and seamless.
Remove the excess filler material and sharpen the edges so that the coving returns to its original shape, and there is no excess filler material popping out of the wall.
Clean the coving area with the help of a cloth to remove dust and any other impurities. Once the Coving looks clean and smooth, paint it using the color of your choice.
How to Paint the Coving?
Make sure you use emulsion or water-based paint and apply two even coats to avoid future damages and get a superior finish.
If your coving strips have loosened and gaps have developed between the pieces and the walls, it is best that you replace those strips with new ones and screw them carefully to avoid future damage.
It is essential to clean and repaint your Covings on a regular basis to preserve their aesthetic look. You need to ensure that the exterior details and patterns are not lost during the repainting process.
How to Repair Coving after a Water Damage?
The plaster coving strips have a threat of water damage if there are leakages in your walls or if there is a drywall problem. In such cases, it is best to seek professional help and get the wall fixed.
In some cases, it is possible to restore the coving by filling the cracks, sanding the uneven surface and paint the strips. If the material is substantially damaged, you will unfortunately have to replace the coving material with appropriate substitutes.
If the room is prone to damp and humidity, choose one of the more resilient materials (e.g. hardened polyurethane) to avoid future damage.
Conclusion
Coving is a great material to enhance the look of your home. It reasonably priced, relatively easy to install and comes in a variety of designs. In combination with LED strips or painted in a color of choice, it will add a personal touch to any room.
When you choose the material, be aware of its pros and cons though. The look and price of the different materials differ. Also, take practical criteria such as ease of installation, durability and resilience into considerations.
Sources and References: