
If you own land or a large backyard you will likely need, at some point, to level ground. There are various reasons for doing this, ranging from preparing gardening, setting up a pool or building a patio to construction projects, such as barns or houses. Construction companies and contractors use their professional equipment to level ground. However, some projects can also be tackled by a DIYer – with the right skills, a small number of inexpensive tools and a bit of background. Read on for a step-by-step instruction that will help you master your project.
If you prepare the ground for a pool make sure you also read this article where we provide more guidance on that kind of project.
Why Should You Level Ground?
Before using a piece of ground for constructing a building, a patio, a shed, or something else it is important for the owner to level it. It becomes even more important to level the round if it lies in a hilly area.
You will also have to level a land even if you have it around your existing home and want to make use of this for constructing a driveway, patios, sheds or swimming pool or installing a swing set. In some cases, people level the ground before planting flowers, grass or vegetables in the garden.
The process of leveling the ground is almost similar whatever be the reason behind it.
Leveling of a ground surface is also important for designing manifold risers, sideways or outlets as well as for installing drip irrigation systems as the water will flow evenly on a smooth and well-shaped ground. In order to ensure uniform discharge and distribution of water on the ground, it is necessary to level the ups and downs of the ground by using proper tools.
The information provided in this write up will help you to know how to level ground regardless of how you will use it.
How Do I Know if My Ground Is Level?
In order to ensure that the ground is level, you should check its grading as the slope of the ground should be away from the base of your home. The slope of the ground should be 1 inch after every 4 feet.
To measure the slope of the ground you should drive a stake near the base of your home and the second one on the other end of the ground.
Now attach a string between these stakes and check its level by using a level such as those used by carpenters.
The bubble of the level should be between the grooves. If it is out of center then you can adjust the level by moving up and down. Now measure the drops in the slope after every 2-4 feet to ensure that the ground is properly leveled or not.
How Do You Level Uneven Ground?
The process of leveling uneven ground depends upon the extent of its unevenness.
If the unevenness of the ground is mild to moderate then you can mix a batch of sand, topsoil, and compost to make soil to support the growth of grass on the ground. You can spread an even layer of this mixture on the lower areas of the ground with the help of rake and allow it to stay there for a few days.
But if the ground is severely uneven like the surface of the moon then you will have to level the ground by using the process discussed above, from grading the ground to spreading the cover on the ground.
Tools and Equipment Needed to Level the Ground
The task of leveling and moving the soil can be somewhat tiring but you can make it somewhat easier and get good results by using the right tools.
The tools necessarily required for this purpose can depend upon various factors including the way you want to use them and the type of ground you want to level.
Commonly used tools for leveling a ground include
- a measuring tape,
- 4 stakes,
- strings,
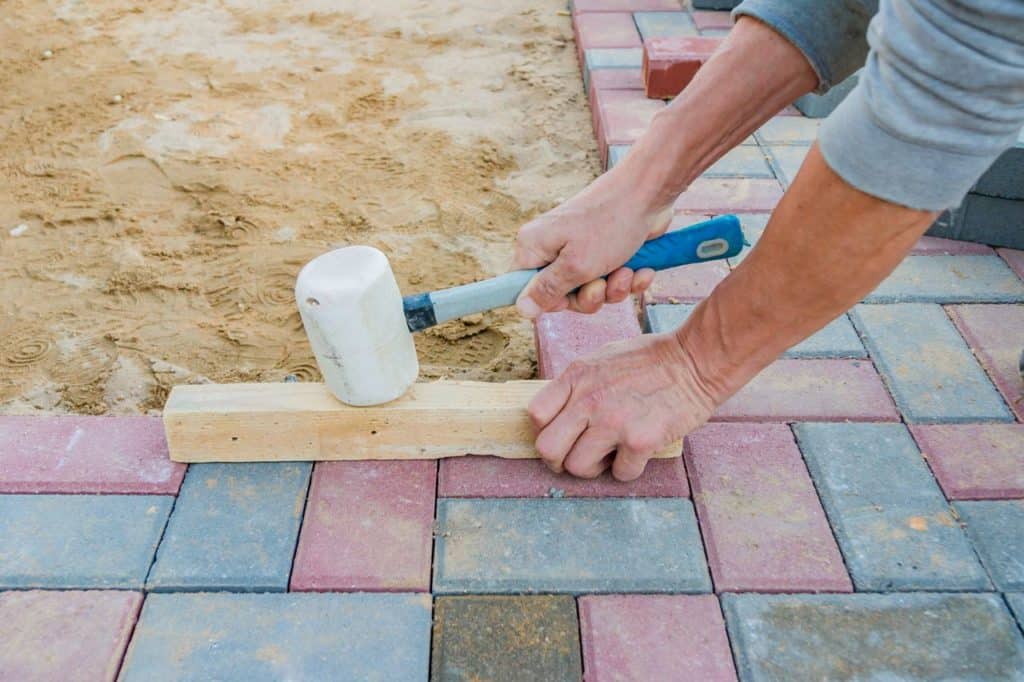
- a hammer,
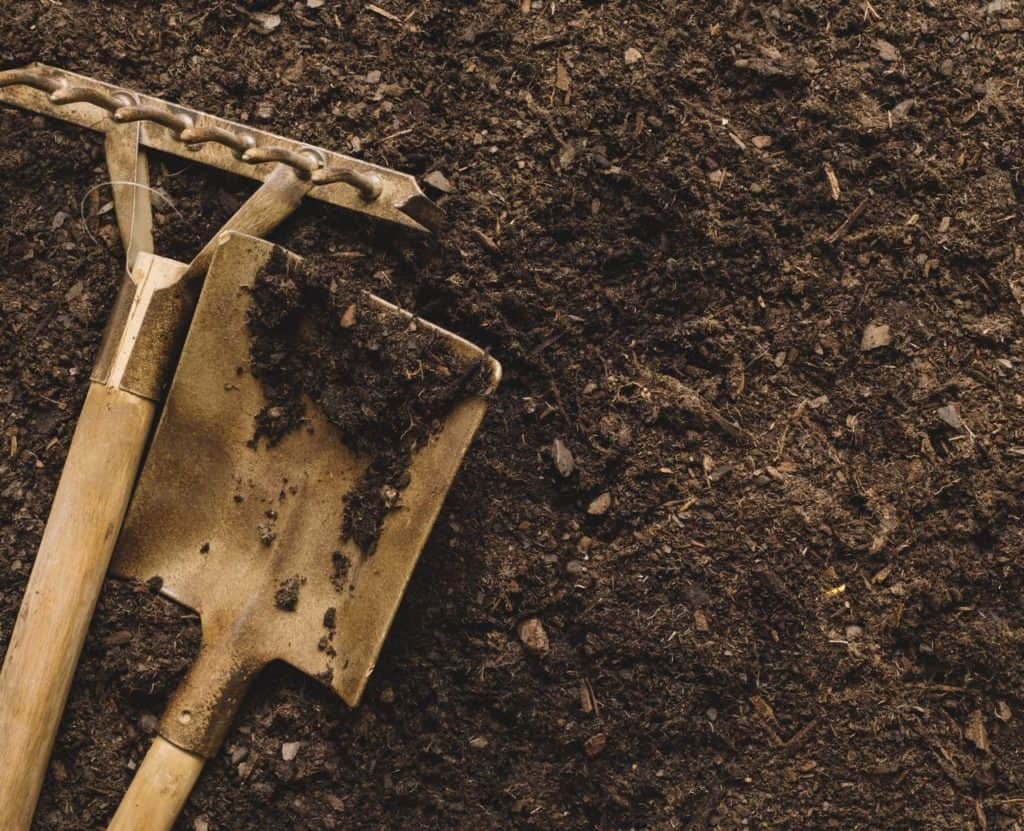
- a spade with a pointed or flat edge to dig the soil,
- a shovel to move the soil,
- a laser level to ensure the level of the ground,
- and a bucket or wheelbarrow to move soil from one spot to the other, and
- a soil compactor for larger areas (optional, if needed).
Before starting the process of leveling the ground, you should ensure you have all the tools and equipment required for this purpose otherwise you will have to rent, borrow or buy them.
Leveling Ground in 8 Steps
Follow these 8 steps to level ground the DIY way.
1) Mark the Ground
First of all, you should use a hammer and stakes to mark the area you want to level.
Drive the stakes into the soil with a hammer around the area of the ground you want to level.
2) Set the Level
To know how much soil you have to move from the ground you will have to set its level by using a manual or laser level.
If you are using a manual level then you should ensure that bubble vials can be adjusted easily to show the level of the ground.

![]()
Example of a laser level.
If you are using a laser level then it will be easier to know the level of the ground as it will set the level automatically. It will show the level of the ground on the nearby wall or some other object by emitting a laser beam. If there is no wall or any other object to catch laser beams then you can use a laser detector for this purpose.
Now connect a measuring tape or rod to the laser detector to measure the level. To find the laser beam with the detector you will have to adjust the detector rod up or down until a beep is heard.
Thus, you can find the level of the ground by measuring the height of the laser detected by the detector rod.
3) Adjust the Grade of the Ground
While leveling the ground you should adjust its grade so that its water can be drained out easily.
In order to keep water away from your home, you should adjust the grade of the land by 1 inch after every 4 feet.
4) If Necessary, Remove Grass
If you have to level a large piece of land then you should remove the grass to make leveling easier.
You can remove grass from a large area simply by using a shovel. However, if the area of land to be leveled is small and most of it is already leveled then you do not need to remove grass from it (soure).
5) Arrange a Cover for Your Land
You should arrange the mixture of sand, soil and fertilizer, manure or compost (if you intend to use it for gardening), to cover the ground.
The amount of cover to be arranged will depend upon the use of the ground after leveling it and the area of ground to be covered.
The cover should be rich with nutritional elements if you want to use the ground for growing plants and grass etc. but if you want to construct a pool or shed on it then the mixture of sand and soil will be enough.
6) Spread the Soil
Now level the ground by spreading the cover mixture with the help of a garden rake. In order to ensure the level of the ground, you should use a measuring tape and the level on the laser detector rod.
You can rent small sized soil moving equipment from a local hardware store if the area to be covered is large. Local hardware stores can also guide you with which additional equipment that will be suitable for you and how to use them.
7) Pack the Soil
You can pack the soil of your ground by using the bottom of the rake or your feet if the area you have leveled is small.
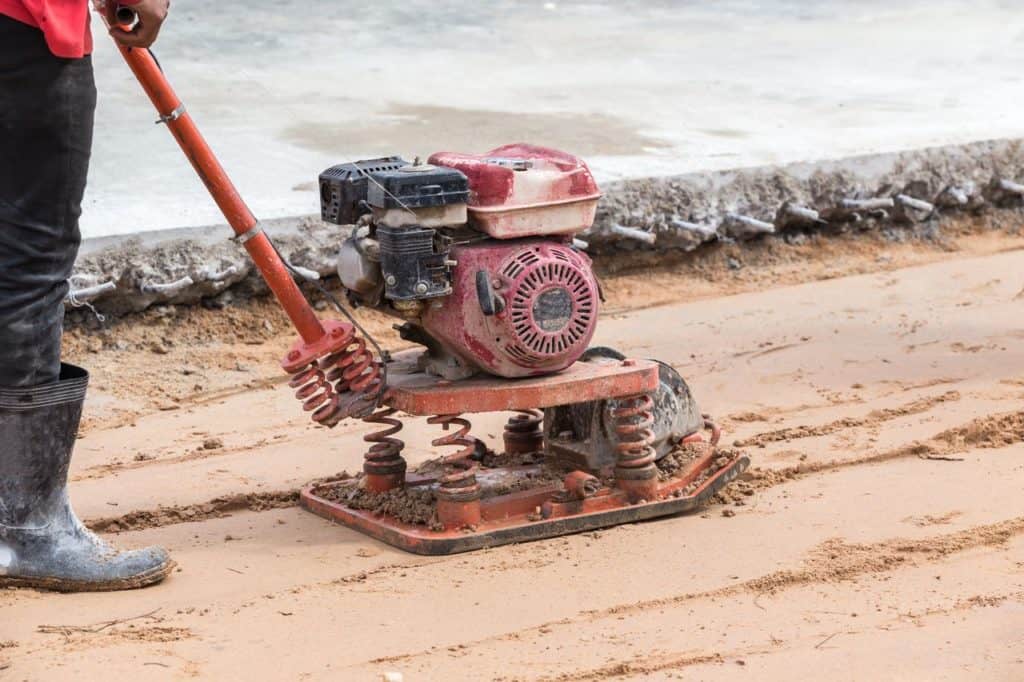
However, if you have leveled a larger piece of land then you can compact your soil by using a plate compactor (see title image for an example) or tamper.
If you are building a structure on that piece of land then it is really important to maintain the level of the ground.
8) Let the Soil Settle
After completing the process of leveling the ground you should give enough time to the soil to settle down on the ground.
It may take several days to settle down properly but it should not be less than 2-3 days if you cannot wait for long. During these 2-3 days, you should spray some water on the ground to help it settle down quickly.
If you get rain during these days then you need not spray water on it.
How Do You Level Ground by Hand?
If you have to level a small piece of ground then it can be leveled by hand by following the steps discussed hereunder.
1) Mark the Plot
By using stakes and string, first of all, you should mark the boundary of the area to be leveled.
At every corner of the area, you should drive-in the stakes with the help of a hammer. Now, tie the string tightly on the top of all the stakes one by one to cover up the entire area.
2) Dig the Soil
Now to start leveling the ground you should use a shovel and dig the soil by inserting it halfway into the ground.
After digging the soil, you should break the big lumps of the soil by using the tip of the shovel. Repeat the process until you turn over the entire plot.
3) Compact the Soil
You can sue the hoe to break up the soil more effectively. As you will move on the ground to move the soil to lower areas the ground will be almost leveled automatically.
4) Level the Ground by Raking It Up
You can use a garden rake to level the ground by moving it backward and forward. It will evenly spread the soil all over the ground.
If any sol lumps are found while raking it you can use the teeth of the rake to break them. Any uneven area can be leveled effectively by using the back of the rake.
Conclusion
As you have learned in this article, leveling ground is not rocket science. Whether you do it by hand or with the help of soil moving or leveling equipment, you will be able to do it following these steps.
If you want to get started now, check whether you have all the tools and equipment you need. Get the missing ones, mark your diary to have enough time for the job, ask friends or family in case you need a hand and get started.