
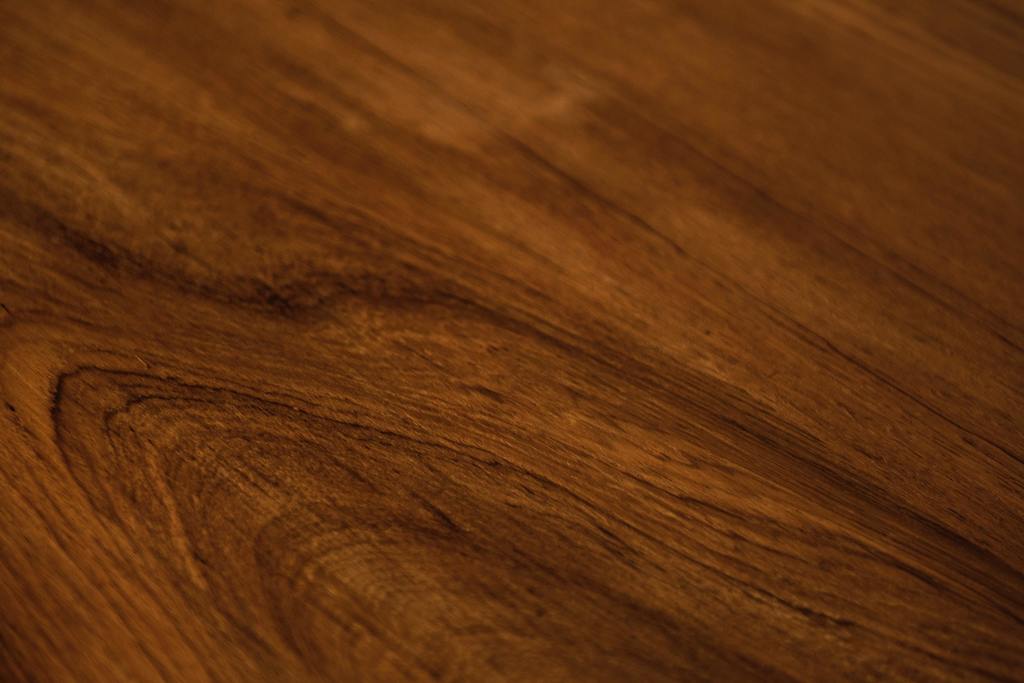
Wood is a beautiful and durable material which is one of the reasons why it is popular for different uses. This includes but is not limited to furniture, floors, doors and windows and various types of installations around the house.
However, being somewhat resistant and durable by nature, even the strongest types of wood require a proper finish to extend their lifespan and retain the original appearance.
This article provides a guide to wood finishing with different types of coating. If you want to learn more about the respective types of finish, follow the links to our detailed articles.
Why Should You Finish Wood?
The natural resistance and durability of wood need some support to retain and protect furniture and installations. A finish generally protects the wood from tear and wear, rotting and fungus, insects and woodworms as well as natural degradation and pollution.
However, the strength and extent of the protection vary among the different types of finish. Some are water-resistant and prevent scratches, for instance, while others are not as protective but non-toxic and safe for cutlery and kitchen furniture.
This is why the intended use needs to be considered when you are selecting the coating.
What Are the Different Types of Finishes?
Wood finishes can broadly be grouped into two categories: penetrative types and surface (or exterior) coatings.
Penetrative treatments soak into the wood (i.e. penetrate it). This can increase the overall resistance of the wood’s substance but requires several coats to achieve sufficient protection for the surface. Most types of oil and waxes are penetrative.
Surface finishes are not absorbed by the wood. They rather cover the surface with a protective coat. While this might or might not affect the appearance – depending on the type of the finish and its level of sheen – it changes the haptic of an object. Varnish, Polyurethane and Lacquer are examples of this category.
How to Finish and Refinish Wood – Step-by-Step Instruction
Follow these 6 easy steps to finish or refinish wood, incl. finding the right coating and applying it to the wood.
Tools & Supply:
- a finish (see step 2),
- an applicator (e.g. brush),
- safety equipment,
- sandpaper and/or a sander (if needed).
Time:
a few hours to several days
1) Determine the Use of the Wooden Object
Before you choose the right finish and the way to apply it, you should be clear on the intended use of the wooden piece that you are going to finish. This is because the different types of finish come with different characteristics, some of them are more durable than the others.
For decorative furniture and artistic objects, you probably prefer a finish that enhances the look and provides some basic protection rather than a durable or water-resistant coating.
On the other hand, you will want to consider a resilient finish for floors and other wooden surfaces that are subject to frequent use and wear. For exterior wood and pieces in damp areas (e.g. garage or bathroom), a waterproof coating will be key to effectively protect the wood.
You should therefore be aware of the intended use before you move forward to the selection of a suitable type of finish.
2) Choose the Right Finish
In the previous step, you have already identified the requirements for your finish.
For indoor use, various types of oil finishes are quite popular as they enhance the natural appearance of the material and provide sufficient protection for objects and furniture that are not subject to heavy use (some are even water-resistant). There are numerous different oils available on the market, the most common ones are:
Click on the links for details or read this comprehensive overview of oils, their uses and different characteristics (incl. hue and typical uses).
If you need a more durable and protective coating, you might consider Varnish, (colorless) Lacquer or Polyurethane. The oil-based type of Polyurethane, for instance, is probably the most durable one but has a strong odor and takes a long time to dry. However, the other types of coating come with their own advantages, disadvantages and typical uses. Read this article on Shellac, Varnish, Lacquer and Polyurethane to learn more details.
If you prefer a finish that colors the wood, you will likely go for one of the types of paint, a color lacquer or a stain.
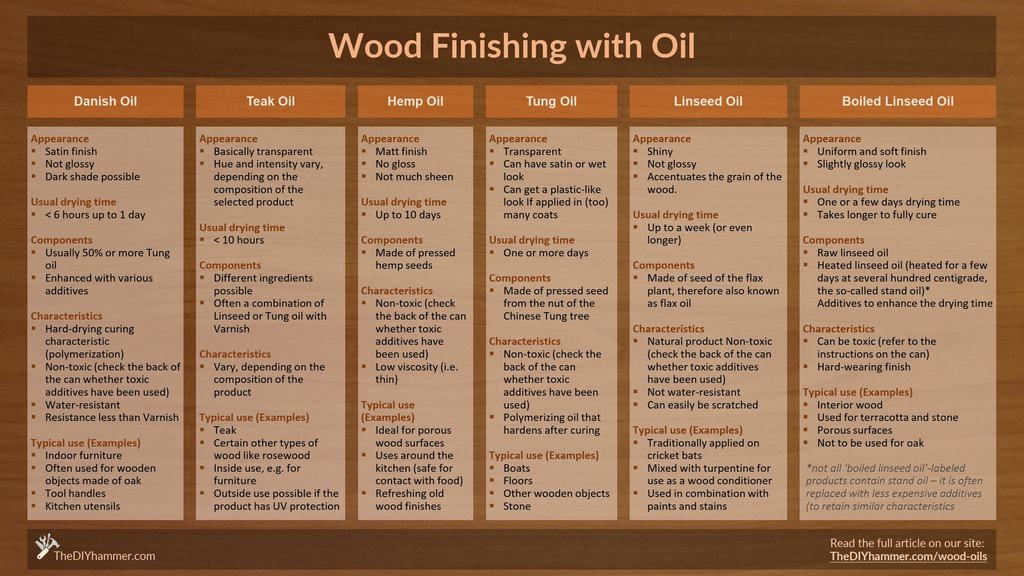
(click to see the full-size table in the article on oil as wood finish).
3) Plan and Prepare the Work
Once you have chosen the type of finish that you are going to apply, you need to answer the following three questions:
- How do you apply the finish and which equipment do you need?
- How many coats do you apply and how much of the finish do you need?
- How much time does it take for you to apply the finish, and for the coats to dry or cure?
Let’s look into these points in detail:
Application Equipment
If you intend to use a spray finish (which is common for lacquer and an option for polyurethane), you will either need a sprayer or order the coating in a spray bottle. You should also wear a mask.
Otherwise, you will likely have to get a brush or a set of brushes to apply poly or most types of oil. However, for a finish with oil, you might use a rag as well.
Number of coats and amount of finish
Follow previous applications or the suggestions provided for the type of finish you have chosen. As a rule of thumb, you should apply more coatings (i.e. the higher end of the range) in case the wood is not in a good condition, it is subject to intense use or adverse circumstances.
Once you have determined the number of coats, you need to measure and calculate the surface that needs to be treated.
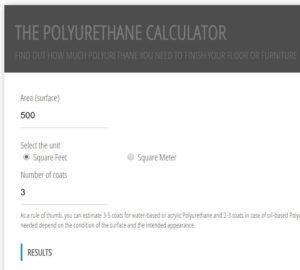
Finally, use our these free calculators for oil and polyurethane to get an estimate of the amount of finish needed. You can then buy the number of cans needed, e.g. on Amazon.
Estimated duration
Take the usual drying time (as presented in the detailed articles referred to above) and the number of coats into account when you determine the duration of the project. Make sure you are available during that time and be aware that the treated object cannot be used for a couple of hours or even days.
In the case of a floor, the entire room cannot be used for a couple of days and all furniture needs to be removed during that period.
Once everything is planned and prepared, get your safety equipment ready and start the job.
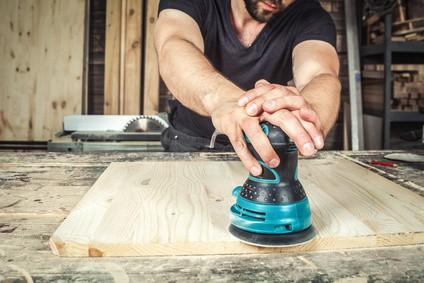
4) Sand the Wood
Most finishes require at least one round of sanding, except for lacquer which can be sprayed directly on the wood.
You will typically begin sanding with a low-grit (i.e. rough) sandpaper and go all the way to a fine-grit (i.e. larger number) sandpaper or even steel wool after each new coat of finish.
When working on larger surfaces, you might consider using a powered sander such as a palm, orbital or random orbit sander, instead of sanding the wood by hand.
Make sure you clean the wood and remove all dust before you apply the finish.
If you are refinishing wood, you will need to remove the old poly or varnish finish completely. This is also true for other types of finish if you do not use the same type for refinishing. Excepted from this rule are lacquer and stain which you can apply on an old coat of the same if this works for you with respect to resulting color or shade.
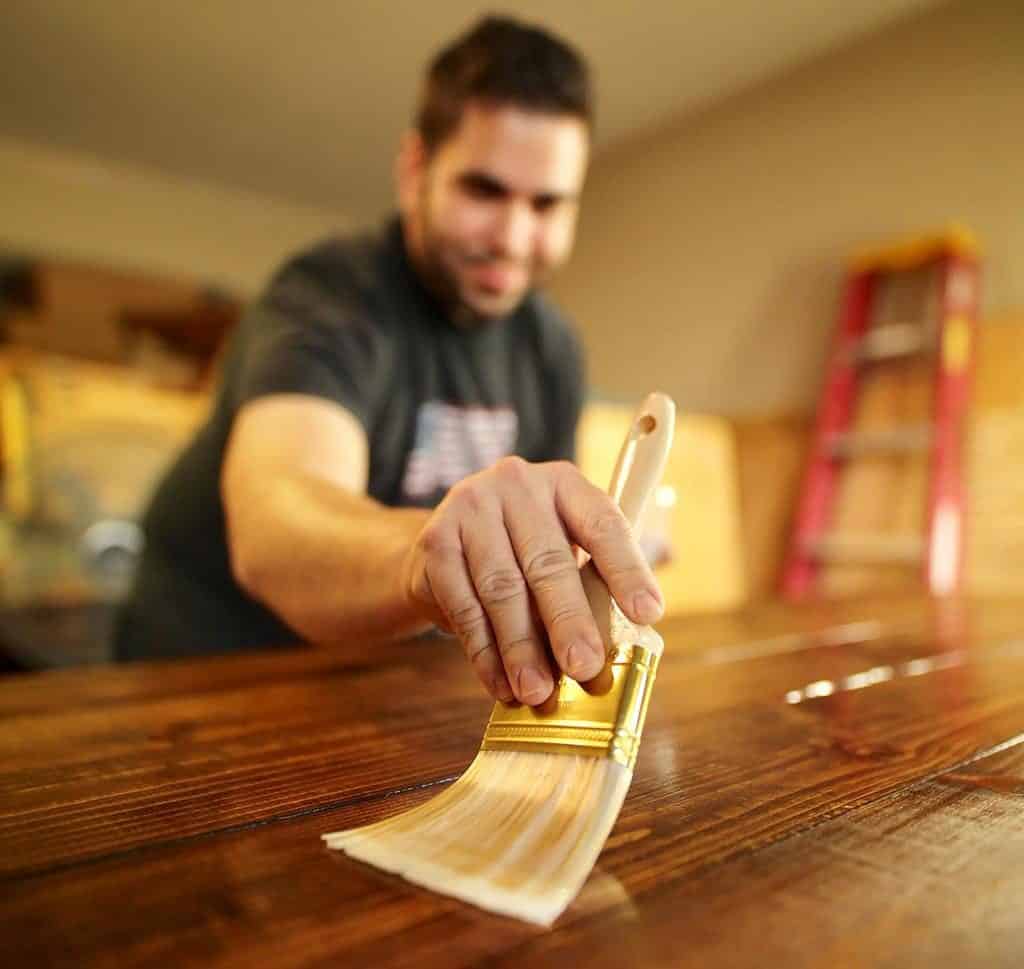
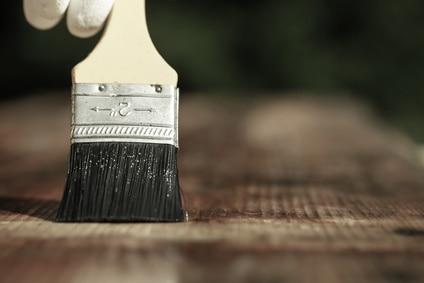
5) Apply the Finish
Use a rag, brush or a sprayer to apply the finish to the surface. Follow the detailed guidance for the respective type of coating that you are using. Make sure you follow the direction of the grain, in particular, if you are applying oil, and remove any excesses.
Many types of finish pose some health risks if they are breathed in or touch the skin. Therefore, you will want to take the safety recommendations in our instructions as well as those on the back of the can seriously.
6) Let the Finish Dry and Apply Another Coat (if needed)
Each coat requires a certain time to dry before you can apply the next coat. Most types dry within a few hours up to a day. However, check the detailed articles above for your respective finish and read the manufacturer’s instructions.
The finish is usually applied in 2-4 coats. After the first coat has dried, you can go back to step 4, sand the surface with finer sandpaper and apply the next coat. However, some DIYers argue that sanding between coats can be skipped when applying oil once the desired smoothness has been achieved.
When you have applied the last coat, the final drying or curing time is usually longer than that between coats. Only after that time, you can start using the finished furniture or floor carefully.
Conclusion
As you might have learned from this guide, finishing wooden floors, installations or furniture yourself is no rocket science even if you are doing it for the first time.
The results depend heavily on the type of finish you choose though. There are differences in the effectiveness of the protection, the look, the ease of application, and, finally, the drying time. So, make sure you understand the characteristics and implications of the type of finish that you are going to use.
If you have found the right coating and apply it correctly, the wood will have an enhanced look and will be protected against the most relevant threats.